
Introduction
Stripe is a broadly-used charge processing platform that permits agencies to safely and effectively be given online bills. With its robust set of APIs and equipment, Stripe allows developers to integrate fee processing into websites and programs comfortably. Stripe's platform supports a wide variety of payment methods, consisting of credit score cards, debit playing cards, and digital wallets, making it a flexible solution for agencies of all sizes. By integrating Stripe into their websites or applications, corporations can provide an unbroken and comfy fee reveal to their clients, helping to grow conversions and streamline their operations. To integrate Stripe with Drupal, you could use the "Stripe" module, which permits you to accept bills on your Drupal website using Stripe's payment gateway. right here's how you may do it.
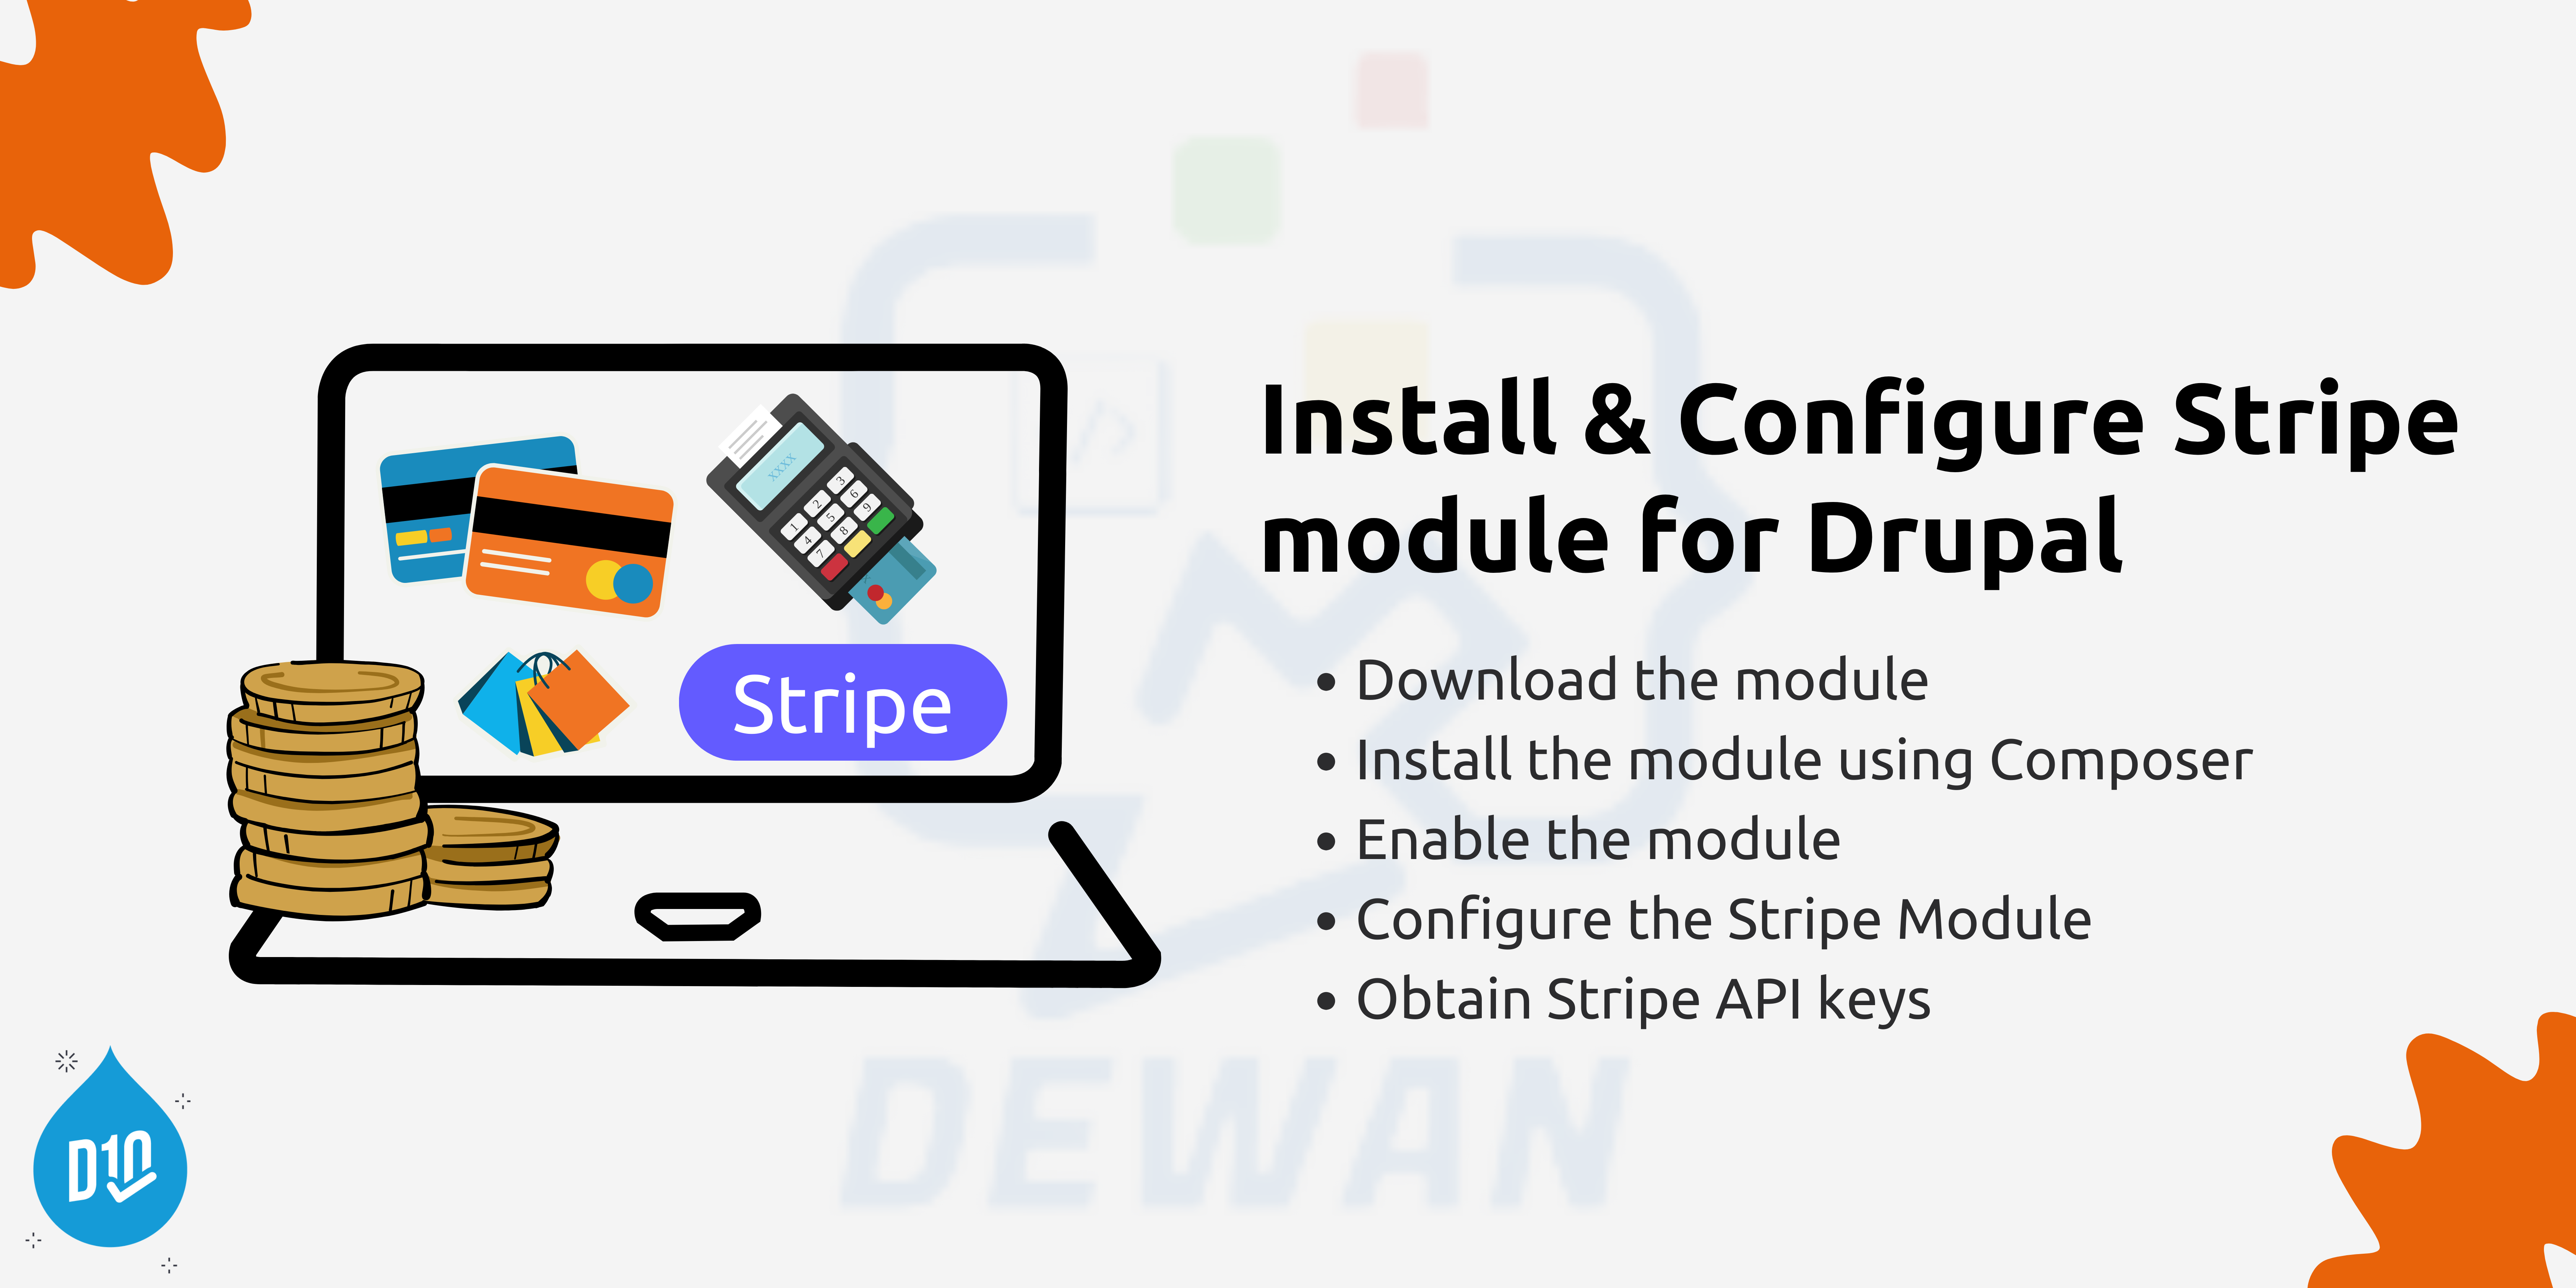
Install the Stripe module
To install the Stripe module for Drupal, follow these steps:
1. Download the module
Go to the Stripe module page on Drupal.org: Stripe module.
Click on the "Install with Composer" tab.
Copy the Composer command provided on the page.
2. Install the module using Composer
Open a terminal or command prompt.
Navigate to your Drupal project directory.
Paste and run the Composer command you copied earlier. It should look something like this.
The composer will download and install the Stripe module along with its dependencies.
3. Enable the module
Once the module is installed, enable it on your Drupal site.
Go to the extend web page (/admin/modules) to your Drupal admin panel.
look for the "Stripe" module inside the listing of modules and check the container next to it.
click the "installation" button at the bottom of the web page to allow the module.
4. Configure the module
After permitting the module, visit the configuration web page (/admin/config/offerings/stripe) to configure it.
enter your Stripe API keys, which you can accumulate out of your Stripe account dashboard.
Configure every other setting as wanted to your website online.
By following those steps, you may install and configure the Stripe module for Drupal and begin accepting bills for your internet site.

Configure the Stripe Module
To configure the Stripe module in Drupal, follow these steps.
1. Obtain Stripe API keys
Log in for your Stripe account.
Navigate to the "developers" segment after which click on "API keys."
Copy your "Publishable key" and "Secret key." You will need these keys to configure the Stripe module in Drupal.
2. Enable the Stripe module
Go to the increase page (/admin/modules) in your Drupal admin panel.
Look for the "Stripe" module within the listing of modules and test the box after it.
Click the "install" button at the lowest of the web page to permit the module.
You may also like to read : Upgrade Your Legacy Drupal Website to Drupal 10
3. Configure the Stripe module
Go to the configuration web page for the Stripe module (/admin/config/offerings/stripe).
Paste your Stripe "Publishable key" and "thriller key" into the respective fields.
Choose whether to enable test mode. In test mode, transactions are not processed, and you can use test card numbers provided by Stripe for testing purposes.
Configure another setting as needed on your website.
4. Save your configuration
Click the "Store Configuration" button to store your modifications.
By way of following these steps, you could configure the Stripe module in Drupal and begin accepting bills for your internet site.
Create a Payment Form
To create a charge form in Drupal the use of the Stripe module, you can use the Internet shape module in conjunction with the Stripe module. here's how you can create a basic charge form.
1. Install and activate the Web form module
Download and install the Web form module from Drupal.org.
Enable the Web form module on the Extend page (/admin/modules).
2. Create a new web form
Go to the Web form page (/admin/structure/web form) and click on "Add web form."
Enter a title for your web form and click on "Save and add fields."
3. Add form fields
Click on "add detail" to add shape fields on your net form. you can upload fields for calls, emails, addresses, and some other records you want.
Make certain to feature a field for the charge quantity. calls
4. Add a Stripe payment element
Click on "Upload detail" and choose "Stripe" from the list of elements.
Configure the Stripe element with the aid of entering your Stripe API keys and putting the charge quantity to be the cost of the charge quantity subject to your shape.
5. Configure form settings
Go to the "Settings" tab of your web form and configure the form settings, such as confirmation message and form submission behavior.
6. Add a submit button
Add a "publish" button for your shape to allow users to put up the fee shape.
7. Test the payment form
Preview your internet shape and check the price functionality using test card numbers furnished by way of Stripe.
Using following those steps, you can create a price shape in Drupal using the Stripe module and the Internet shape module. This form will allow users to make payments securely with the use of the Stripe payment gateway.
Process Payments
To process bills for your Drupal website the use of the Stripe module, you can use the Stripe API functions supplied using the module. here's a primary outline of how you can procedure bills.
Create a payment form
Create a web form or a custom form on your Drupal website where users can enter their payment information.
Use the Stripe API functions
Use the Stripe API features furnished by the Stripe module to technique payments. here's an example of the way you may use the stripe_charge_create() function to create a rate.
In this example, the $token is the token representing the cardboard facts, which is typically received from the price shape.
Handle the payment response
After growing the rate, you may acquire a response from Stripe indicating whether the price changed into a hit or not. you may use this response to update your Drupal database, ship e-mail notifications, or perform another essential move.
Test the payment process
Earlier than going stay, ensure to check the price method using Stripe's check card numbers and make sure that payments are processed effectively.
it's essential to address payments and credit card statistics securely and observe PCI DSS (charge Card enterprise records protection fashionable) requirements. ensure that your Drupal website is using SSL/TLS encryption to shield touchy facts all through the price technique.
Handle Payment Responses
Handling payment responses in Drupal after processing payments through the Stripe module involves capturing and processing the response from the Stripe API. Here's a general outline of how you can handle payment responses.
Capture the response
After processing a charge for the usage of the Stripe API functions, you may acquire a reaction item from Stripe. capture this response on your Drupal code.
Process the response
Extract applicable statistics from the reaction object, along with the charge fame, quantity, and transaction identification. Use this fact to replace your Drupal database, ship electronic mail notifications, or carry out any other important moves.
Update Drupal entities
If you are processing payments for orders or other entities in Drupal, update the corresponding entities with the payment status and transaction details.
Send email notifications
Notify the user and/or site administrators about the payment status. You can use Drupal's email API to send notifications.
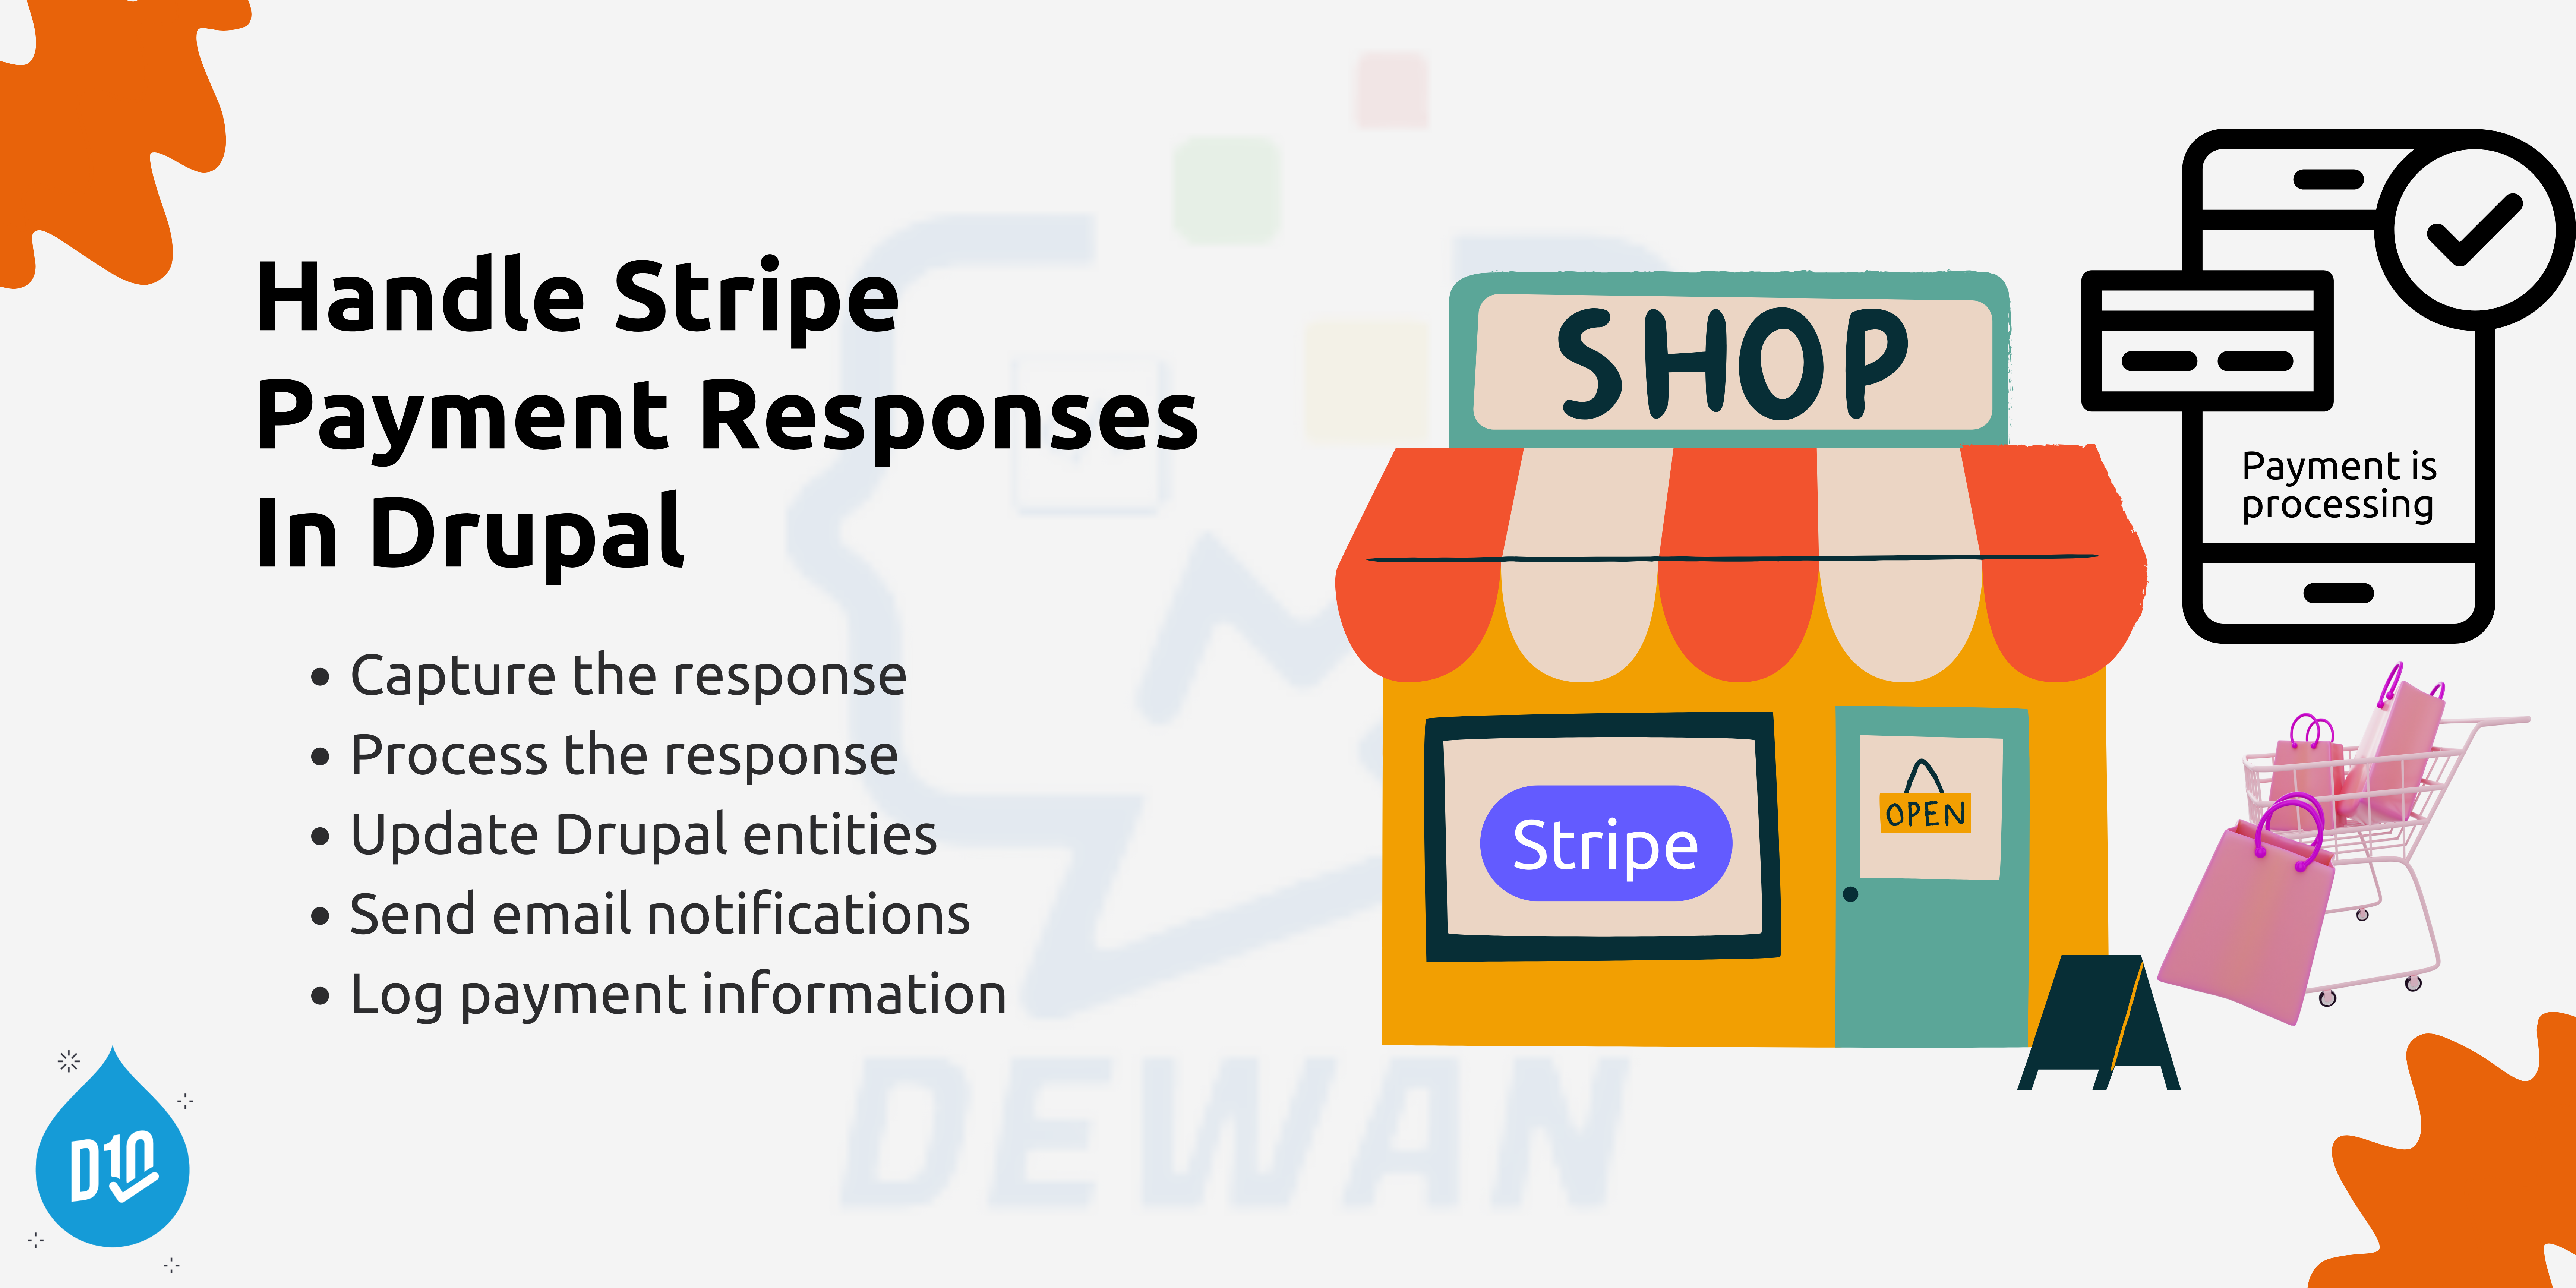
Log payment information
Log the payment information for auditing and record-keeping purposes. You can use Drupal's logging API to log messages. Here's an example of how you might handle a payment response in a custom Drupal module:
php
// Assume $response is the response object from the Stripe API.
if ($response->status == 'succeeded') {
// Payment was successful.
// Update Drupal entities, send email notifications, etc.
}
else {
// Payment failed.
// Log the error and handle it appropriately.
\Drupal::logger('my_module')->error('Payment failed: @error', ['@error' => $response->error->message]);
}
It's important to handle payment responses securely and follow best practices for error handling and data protection.
Test Your Integration
To test your Stripe integration with Drupal, follow these steps.
Enable Test Mode
On your Stripe account, make certain you're in "take a look at Mode" to technique test transactions without the usage of real charge records. you may transfer to test Mode to your Stripe dashboard.
Test Transactions
Perform a test transaction on your Drupal website using the Stripe payment gateway. Ensure that the payment process works as expected, including successful payment confirmation and any post-payment actions you have configured.
Review Logs and Notifications
Check the logs and notifications in both Stripe and Drupal to verify that the test transaction was processed correctly and that the necessary data was sent and received.
Test Failure Scenarios
Additionally, test failure scenarios (e.g., using an expired card, using a declined card) to ensure that error handling is working correctly.
Disable Test Mode
As soon as you have completed checking out and are ready to simply accept actual bills, disable test Mode to your Stripe account.
By thoroughly trying out your Stripe integration, you can make certain that your Drupal internet site is prepared to accept payments securely and correctly.
Go Live
To go live with your Stripe integration on your Drupal website, follow these steps.
Disable Test Mode
On your Stripe account, switch from "check Mode" to "live Mode" to start processing real payments. this may be finished in your Stripe dashboard settings.
Update API Keys
Replace the test API keys in your Drupal website's Stripe integration settings with your live API keys. These keys can be found in your Stripe account dashboard under "API keys."
Update WebHooks (Optional)
If you have set up webhooks on your Stripe integration, replace them to use the stay webhook URLs.
Review Configuration
Double-check all configuration settings in your Drupal website related to Stripe integration to ensure they are set up correctly for live transactions.
Test in Live Mode (Optional
While not necessary, you may want to perform a few test transactions in live mode with real payment information to ensure everything is working as expected.
Go Live
Once you are confident that everything is set up correctly, you can officially go live with your Stripe integration and start accepting real payments on your Drupal website.
Monitor Transactions
After going stay, screen your transactions intently to make certain that bills are being processed correctly and that there are not any problems together with your integration.
By following those steps, you may successfully transition your Stripe integration from test mode to live mode and start accepting real bills on your Drupal website.

Conclusion
In conclusion, integrating Stripe with Drupal for charge processing involves numerous key steps. First, you want to join a Stripe account and deploy the Stripe php library with the use of Composer. Subsequently, enable the required Drupal modules, consisting of internet shape and web shape Stripe, and configure the Stripe settings to your Drupal admin panel. Create an internet form in Drupal that consists of price fields, and configure the internet form Stripe integration to address price processing. check the mixing in Stripe's take a look at mode the usage of take a look at card facts supplied by way of Stripe. once you've tested the combination correctly, disable test mode on your Stripe settings to begin accepting live bills. eventually, display the bills processed through your internet site to make certain they're being processed successfully.