Introduction
Drupal is a dynamic content control system (CMS) that allows for the introduction of fairly custom-make and scalable web sites. Figma and Adobe XD are popular design tools utilized by designers to make user interfaces and prototypes. Converting designs from Figma or Adobe XD to Drupal calls for careful making plans and execution to make sure that the design is faithfully translated right into a useful website. On this guide, we are able to explore the step-by using-step system of changing Figma or Adobe XD designs to Drupal, protecting the whole thing from layout education to very last implementation.
How to layout Preparation?
layout establishment is a essential step in the technique of changing Figma or Adobe XD designs to Drupal. Here is a manual that will help you prepare your designs effectively.
1. Prepare Your layout files
Before beginning the conversion technique, make sure your Figma or Adobe XD design files are properly-organized. Use folders and naming code to keep your files dependent and clean to navigate.
2. Analysis Your layout
Take the time to review your layout and become aware of any factors that can require unique interest during the conversion process. This includes complicated layouts, interactive elements, and any layout assets that could need to be custom designed for Drupal.
3. Take a look at for Consistency
Ensure that your designs are regular across all pages and displays. This consists of consistent use of colors, typography, spacing, and different design factors.
4. How to Enhance Images?
If your designs consist of photos, make sure they may be optimized for the internet. This consists of resizing pix to an appropriate dimensions and saving them in the precise record layout(e.g., JPEG or PNG).
5. Export Resources
Export any layout belongings (e.g., icons, logos, historical past pics) as a way to be used in your Drupal web page. Ensure to export belongings at the precise sizes and resolutions for the internet.
6. How to Create layout Specifications?
Document your design particulars, together with colorations, typography, spacing, and any other layout tips so that it will need to be observed in the course of the conversion method. this may assist make sure consistency and accuracy within the very last Drupal web site.
7. Improve Collaborate with Developers
Work closely along with your improvement crew to ensure they've everything they want to convert your designs to Drupal. This includes imparting them with get right of entry to on your layout documents and specifications, as well as some other relevant information.
How to Install and Configure Drupal
Putting in and configuring Drupal is a crucial step inside the technique of changing Figma or Adobe XD designs to Drupal. Here's a manual to help you install and configure Drupal effectively.
Download Drupal
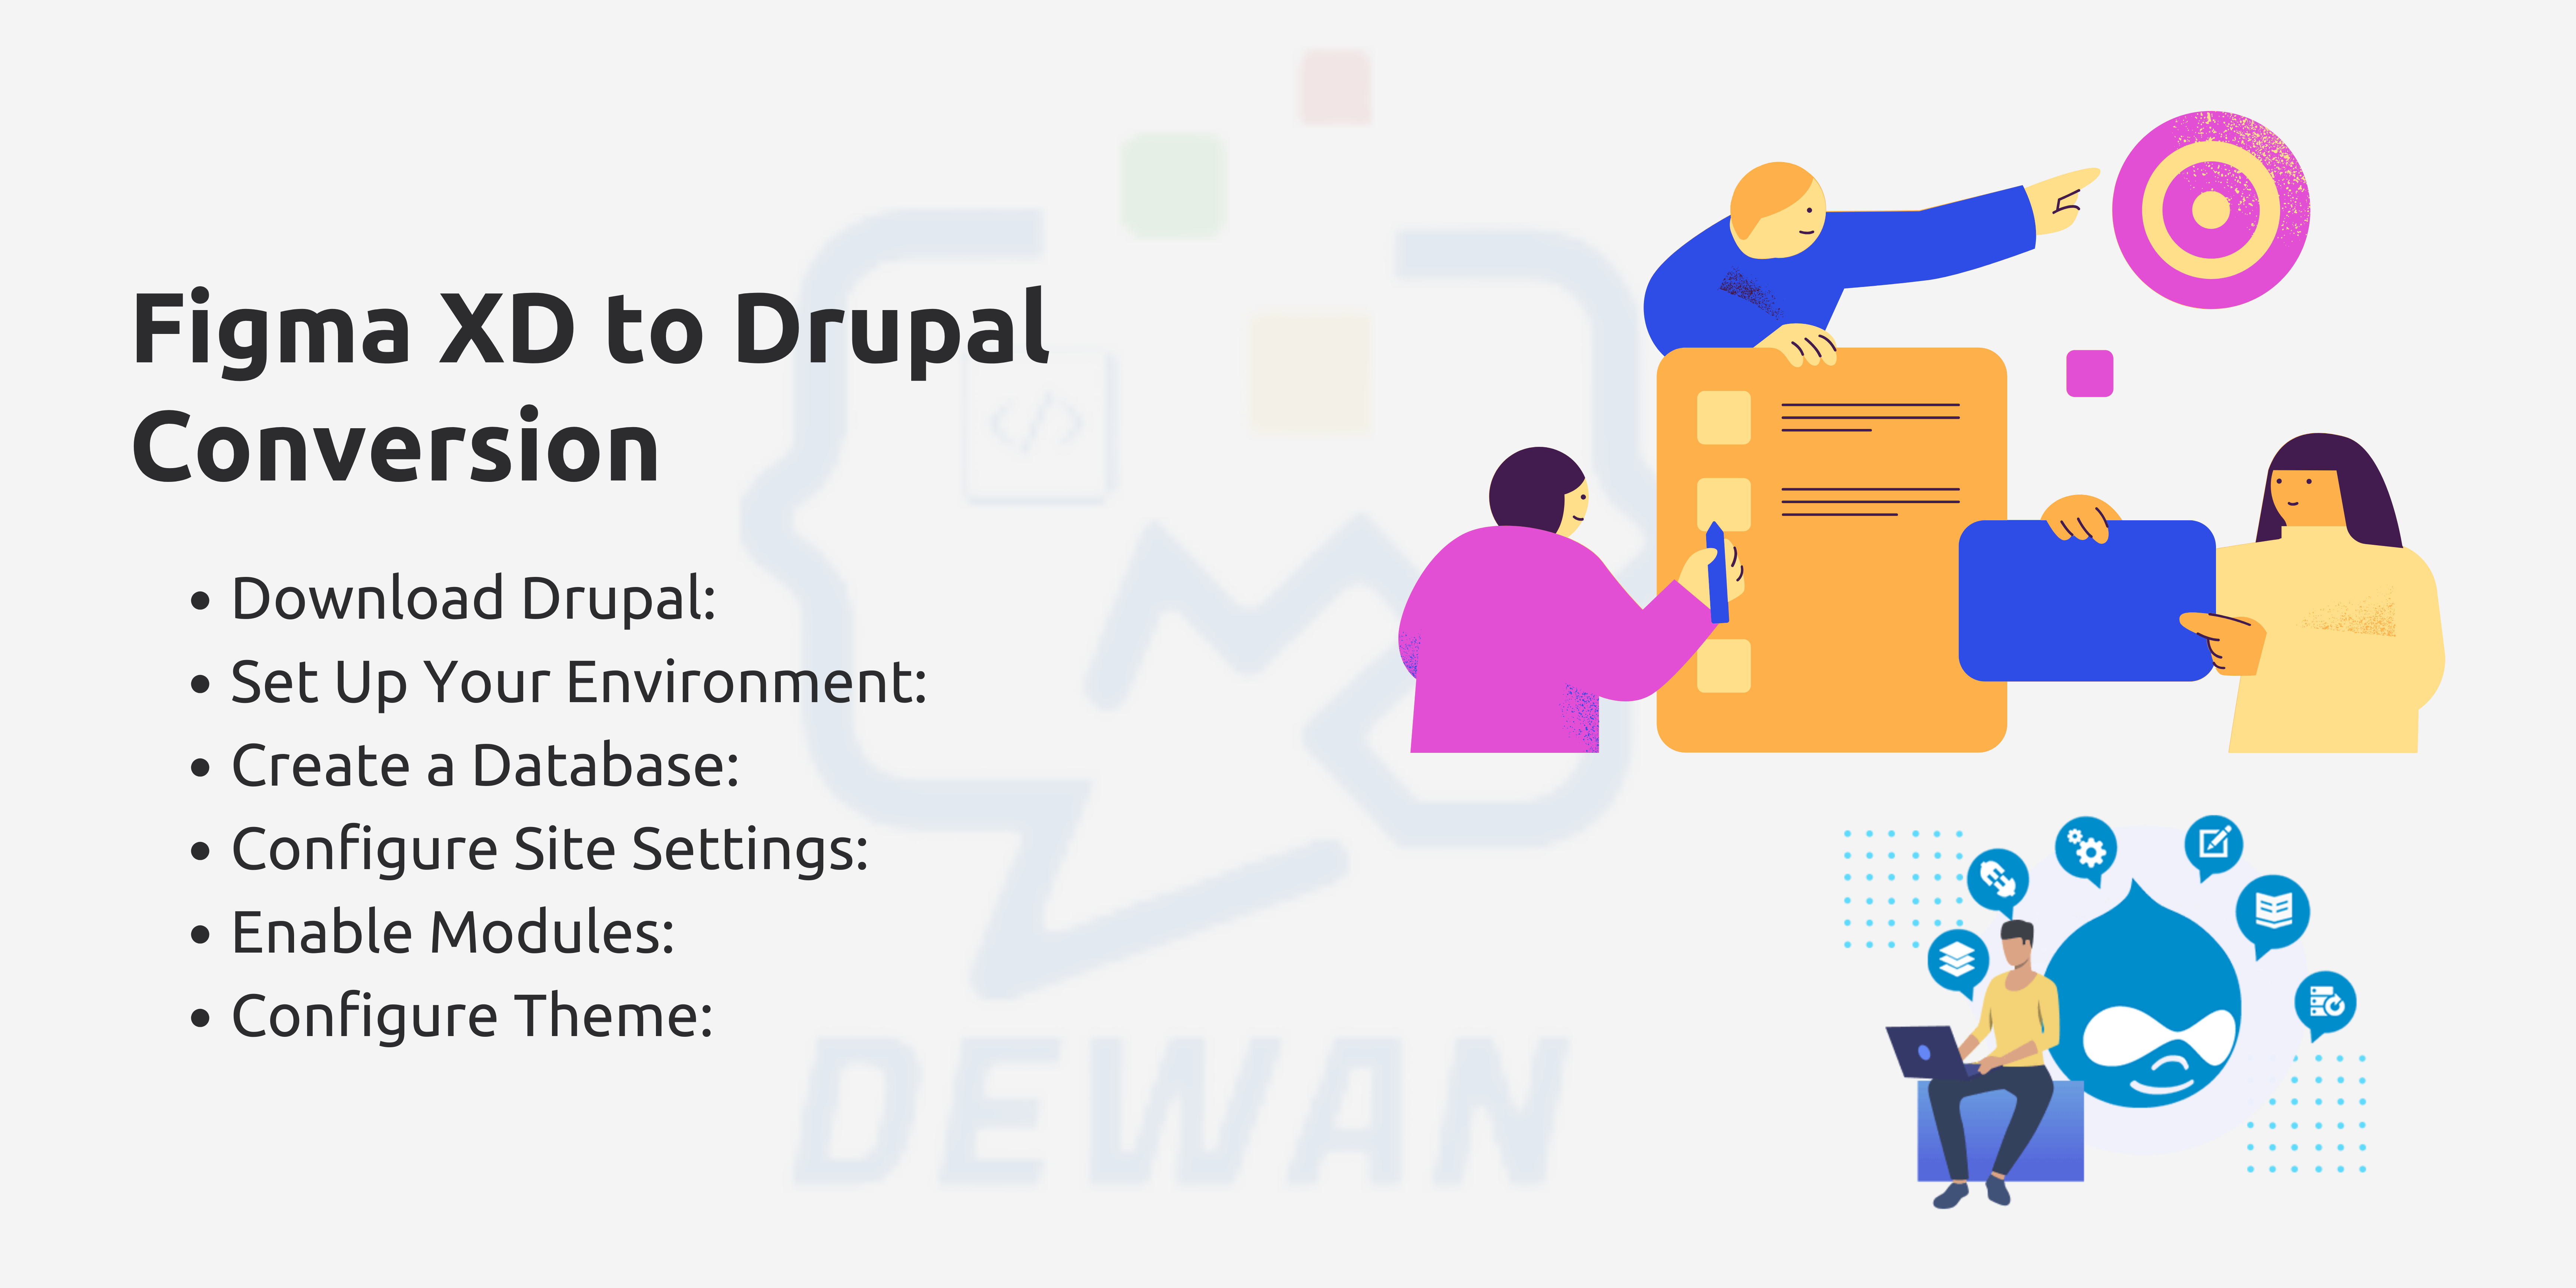
I'll install the fresh and latest version of Drupal 10 with Composer.
2. Set up Your Surroundings
Earlier than putting in Drupal, make sure that your server surroundings meets the minimal requirements. you'll want an internet server (e.g., Apache, Nginx), a database server (e.g., MySQL, MariaDB), and PHP.
3. How to Create a Database?
Create a brand new database in your Drupal site the use of your database management tool (e.g., phpMyAdmin, MySQL Workbench). Make a be aware of the database name, username, and password, as you may want those all through the set up technique.
You may also like to read : MailChimp Integration Services
4. How to Install Drupal?
Switch the Drupal documents to your net web hosting server.
Navigate to your Drupal site in an internet browser. you'll be directed to the Drupal set up wizard.
Pick out your chosen language and click on "keep and hold."
select the "widespread" installation profile and click on "keep and retain."
Input your database connection information (database name, username, password) and click on "store and keep."
Configure your site settings, along with website online name, site email cope with, and placement renovation account info. click on "store and retain."
5. Configure Site Settings
Log in in your Drupal website online using the website protection account you created at some point of set up.
Navigate to the "Configuration" phase and evaluate and configure your website online settings as wished. This includes settings associated with web page records, consumer accounts, and permissions.
6. Prepare Core Modules
Drupal comes with a set of core modules, however you may want to enable additional modules to extend the capability of your site. Navigate to the "Modules" section and permit the modules you need.
7. Configure Theme
Drupal comes with a default topic, but you can installation and configure additional themes to difference the look and experience of your website. Navigate to the "look" section and configure your theme settings.
8. How To Add Content?
Once your Drupal site is set up and configured, you can begin adding content material. Navigate to the "content" phase and click "Add content material" to create new content to your website.
Drupal Theme Installation and Configuration
To install and configure a theme in Drupal, follow these steps:
1. Download a Theme
I'm able to create my custom bootstrap child subject, for you to be like minded with the modern-day version of established Drupal.
2. How to Install the Theme in Drupal?
Log in to your Drupal site as an administrator.
Navigate to "Appearance" > "Themes" in the admin menu.
Click on the "Install new theme" button.
Choose the theme file you downloaded and click "Install."
3. How to Enable the Theme in Drupal?
After putting in the subject, you may be redirected to the "appearance" web page.
locate the newly established theme in the list and click the "Enable and set default" link.
4. Configure the Theme in Drupal
As soon as the theme is enabled, click on at the "Settings" link next to the subject call to configure it.
Configure the layout settings according to your preferences, inclusive of colorings, format options, and typography.
Save your changes.
5. Custom-Make the Theme in Drupal (Optional)
A few layout allow for in addition customization via the Drupal theme settings or by using enhancing the subject's CSS documents.
Use the theme settings or edit the CSS documents to personalize the subject to match your design necessities.
6. Preview the Theme
Earlier than making the theme stay, preview it to make sure that it looks and functions as predicted.
Navigate on your web page's front stop to peer how the topic seems to site visitors.
7. Further Configuration (Optional)
Relying on the theme, you could want to configure extra settings, which includes adding a brand, configuring menus, or setting up sliders.
8. Save Changes
Once you are glad with the theme configuration, keep your modifications to make the theme stay in your Drupal site.
How to Content Type Creation?
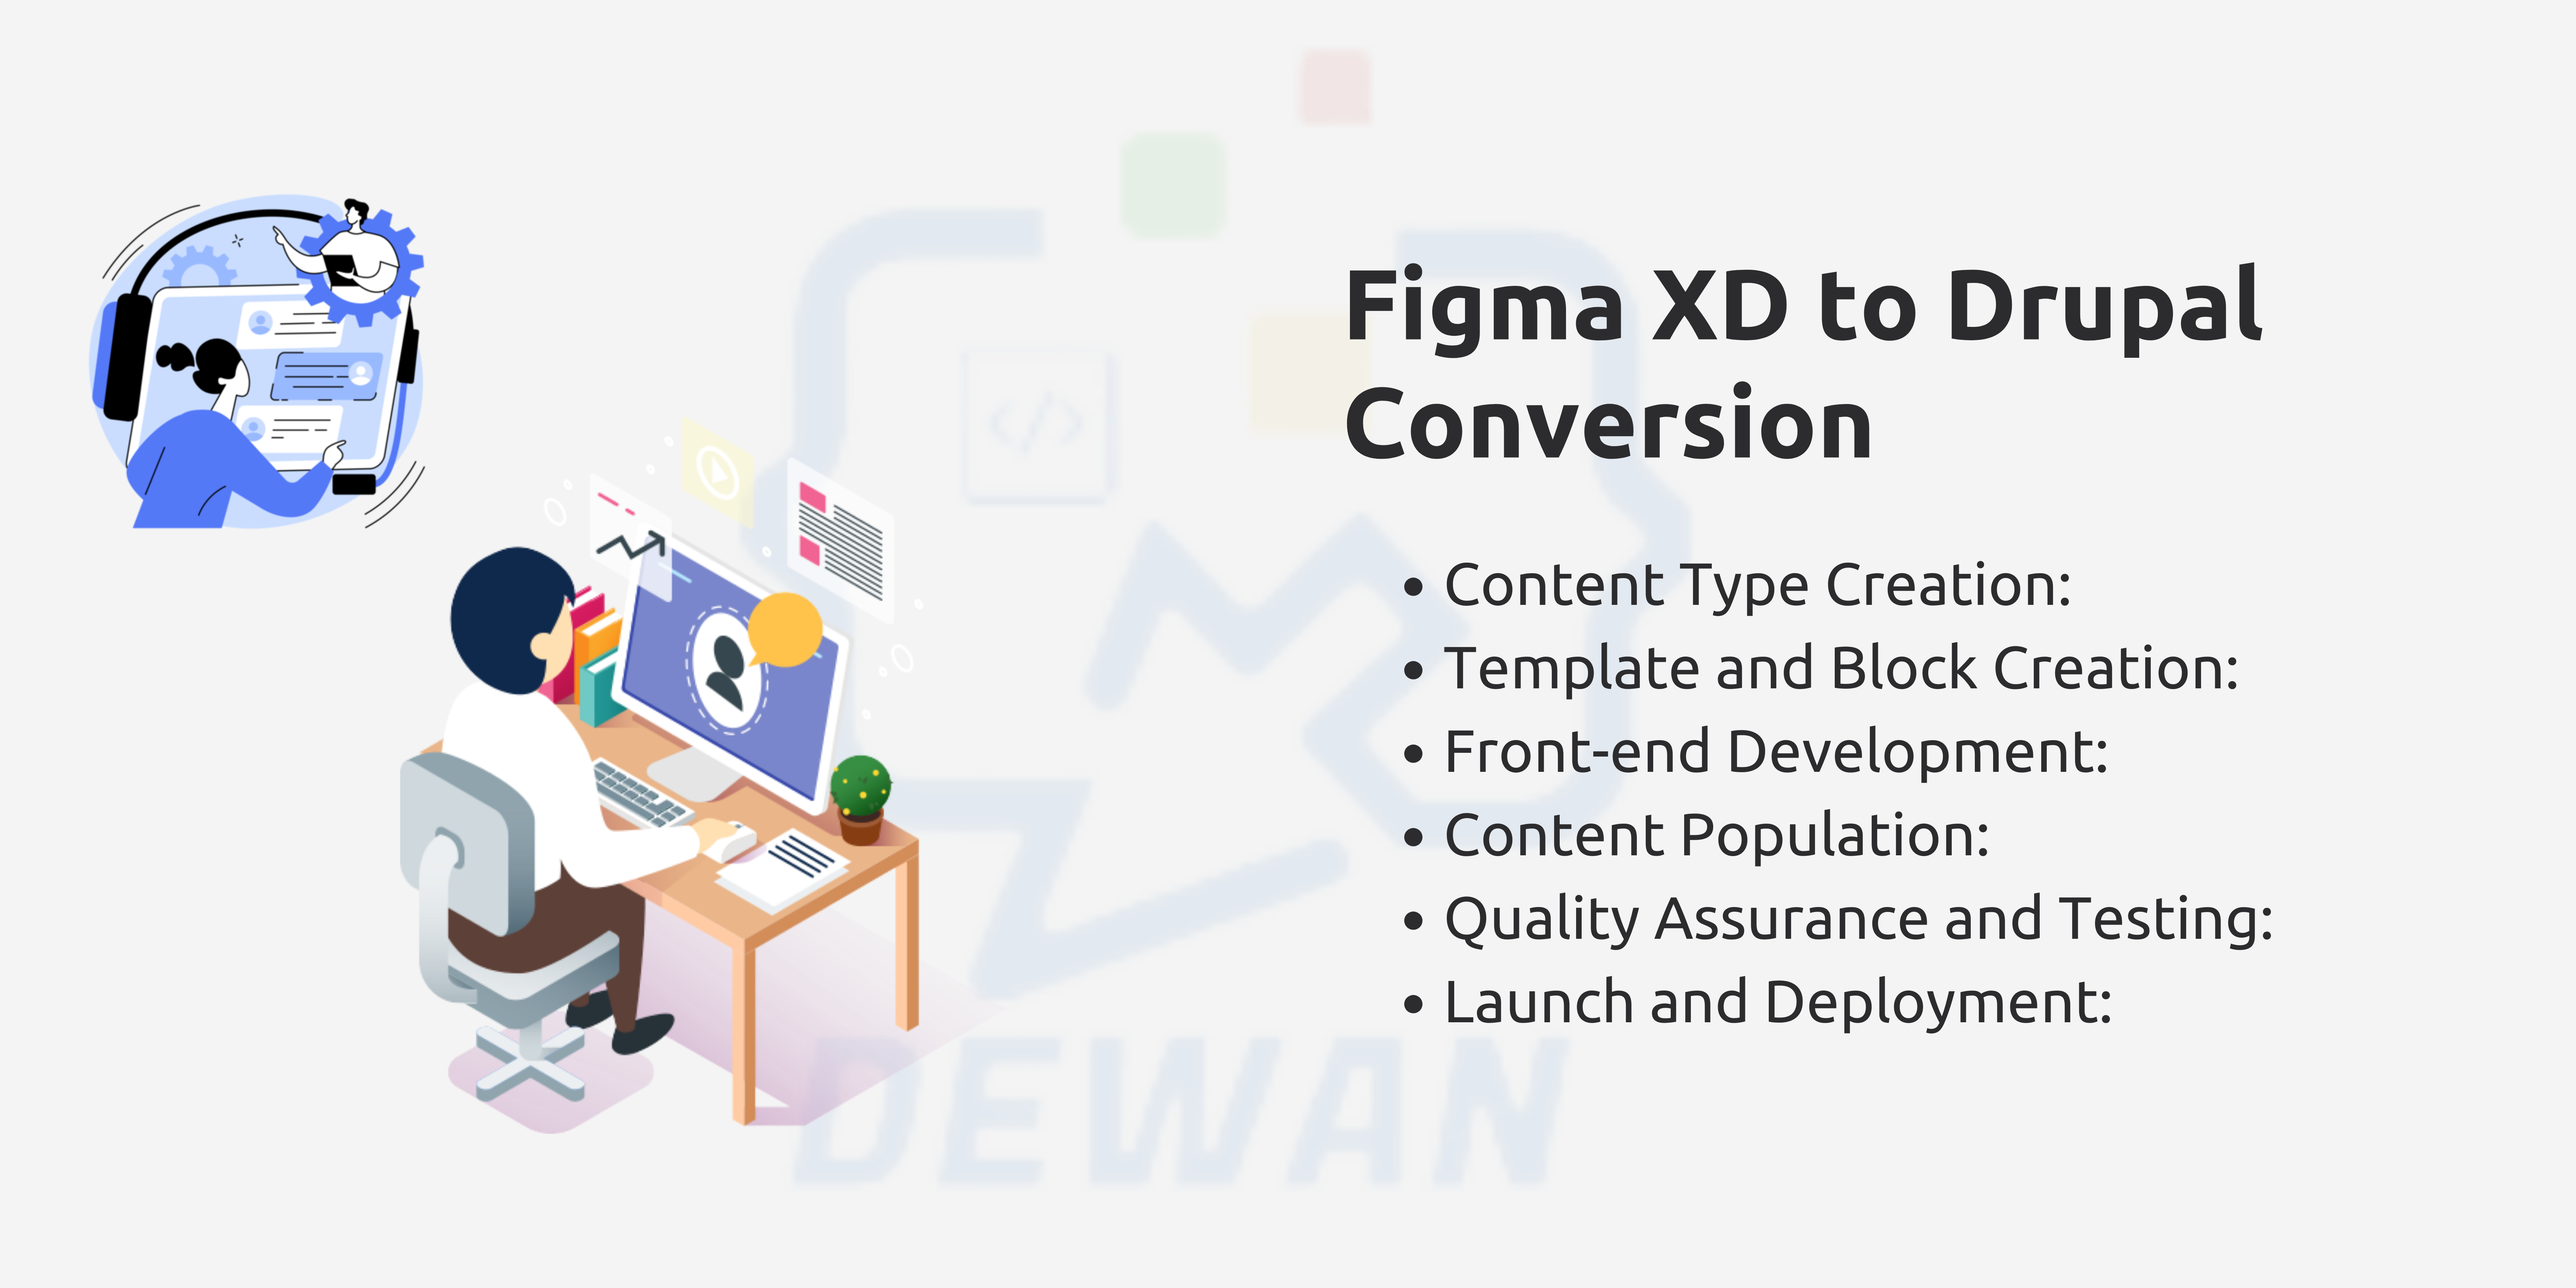
Create content types in Drupal to suit the content structure of your design, which include articles, blog posts, or products.
Define fields for each content type to occupation the essential facts, such as textual content, images, or hyperlinks.
Template and Block Creation
Create Drupal templates and blocks to perform the exceptional sections and additives of your design, including headers, footers, and sidebars.
Use Drupal's theming system to create custom impression and blocks that suit the format and styling of your design.
How to Use Front-end Development?
Use HTML, CSS, and JavaScript to convert the static layout factors from Figma or Adobe XD into dynamic Drupal templates.
Make sure that the front-cease code is responsive and on hand, adhering to high-quality practices and web requirements.
Drupal Content Population
Populate the Drupal website with content, using the content material types and fields created earlier.
Add images, text, and other media to the website, following the design format and structure.
Quality Assurance and Testing
Test the Drupal website very well to make sure that each one design elements are rendering successfully and functioning as expected.
Carry out move-browser and tool checking out to ensure compatibility with exceptional browsers and devices.
How to Launch and Deployment?
As soon as trying out is entire, install the Drupal website online to a stay server.
Reveal the site publish-launch for any troubles or bugs and deal with them promptly.
Conclusion
Converting Figma or Adobe XD designs to Drupal requires cautious making plans, interest to element, and collaboration enclosed by designers and developer. Via following the stairs outlined in this guide, you can make sure a clean and a smooth conversion technique, resulting in a Drupal internet site that faithfully represents your unique layout imaginative and prescient.
If you still need help, please contact me for any level of Drupal customization services.